This project was worked on from September 2020 to August 2021.
An algorithm for detecting cosmic ray damage in images taken outside the atmosphere
What is cosmic ray damage? Simply put, it is the damage to camera sensors caused by photons in outer space traveling at or near the speed of light. This doesn’t happen to cameras on Earth because they are protected by the atmosphere, but this algorithm was written with Dr. Jeff Pelz at Rochester Institute of Technology, to use on images taken on the ISS by astronauts.

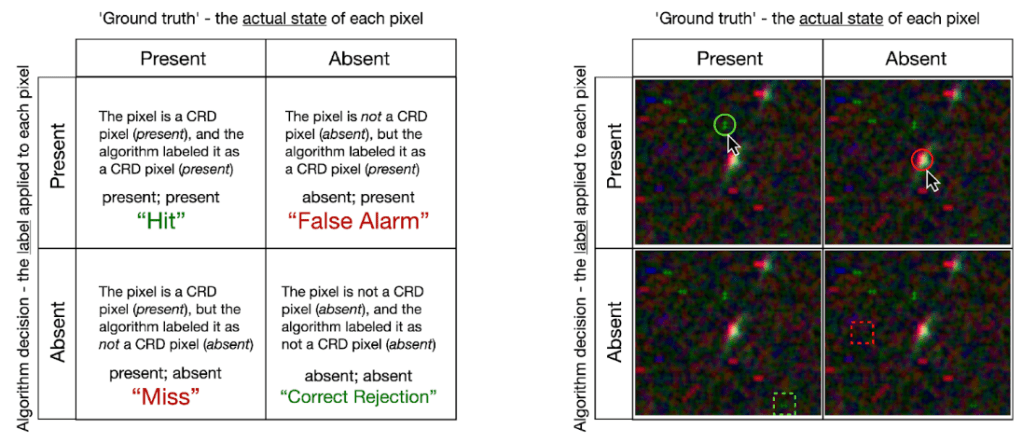
Cosmic ray damage appears as pixels with high chroma – pixels that appear very red, very green, or very blue. This is because the damage done by the cosmic rays is done to the RGB layers of the photo sensors.
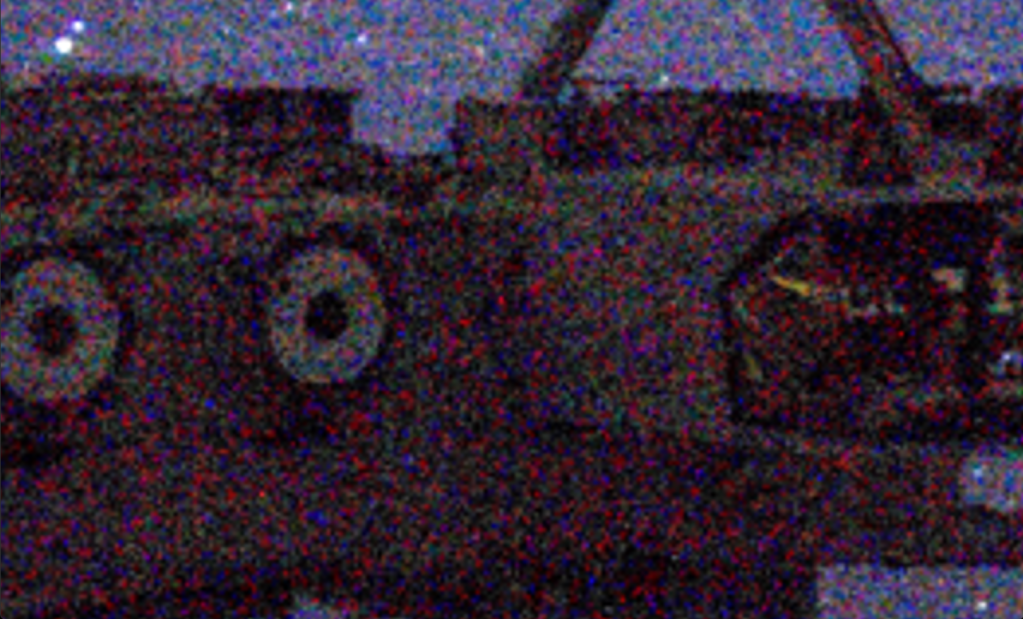
An example of cosmic ray damage is shown to the left – in this case, the red color channel was damaged, so the pixels appear very red.
So why does cosmic ray damage matter? For one, it can make images of space look messy. If you take a picture in a perfectly dark room, you can see that the photo isn’t just black. There are patches that look more red or green or blue. This is called noise. Photos taken that are pointed towards the great black beyond also have this noise, but it is even more noticeable with very tiny specks of high chroma pixels randomly distributed over the image. When NASA wants to post ISS photos, these high chroma pixels make the image look noisy. The blacks aren’t just black, they have red, green, and blue pixels all over.
Additionally, when they run image analysis, the high R or G or B values can look like stars, data-wise. Stars appear as bright – or not so bright, depending on the star – white, which means they have high R, G, and B values. When a damaged pixel has only one of those channels as a high value, it can be falsely labeled as a star.
My algorithm was given the task of looking at this balance of RGB values, and analytically figuring out what our eyes can so easily see. It had to sort out background noise from pixel damage.
I was given a variety of images to analyze, shown below.


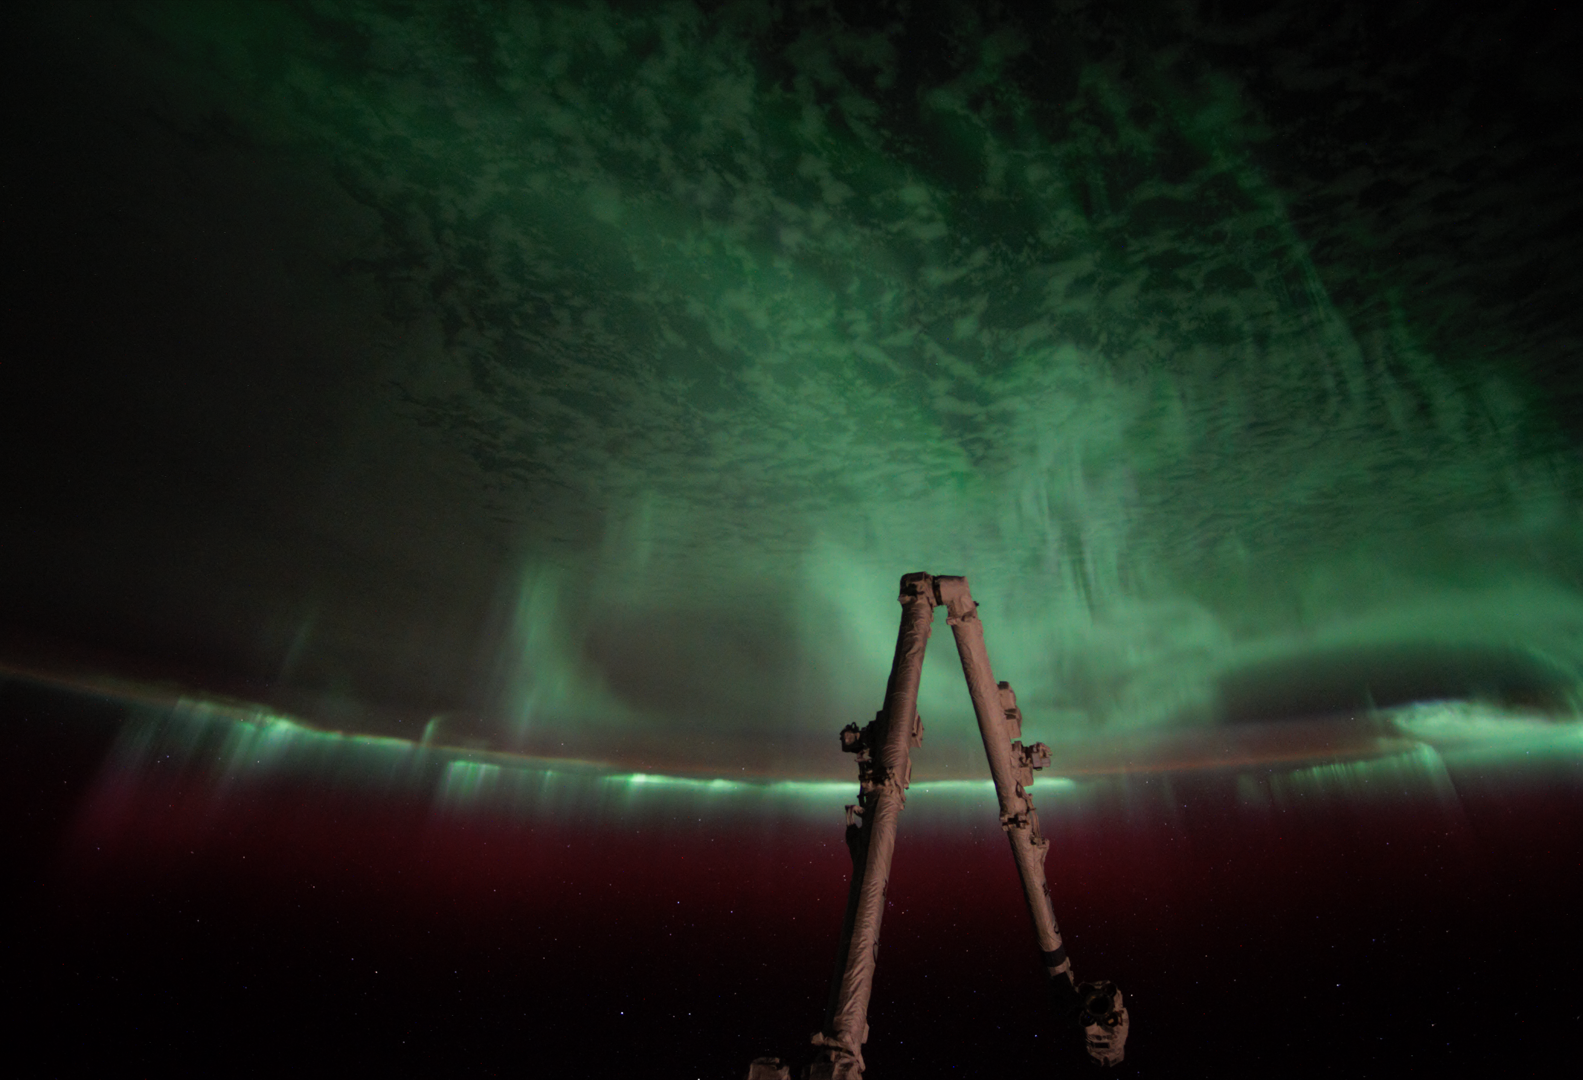
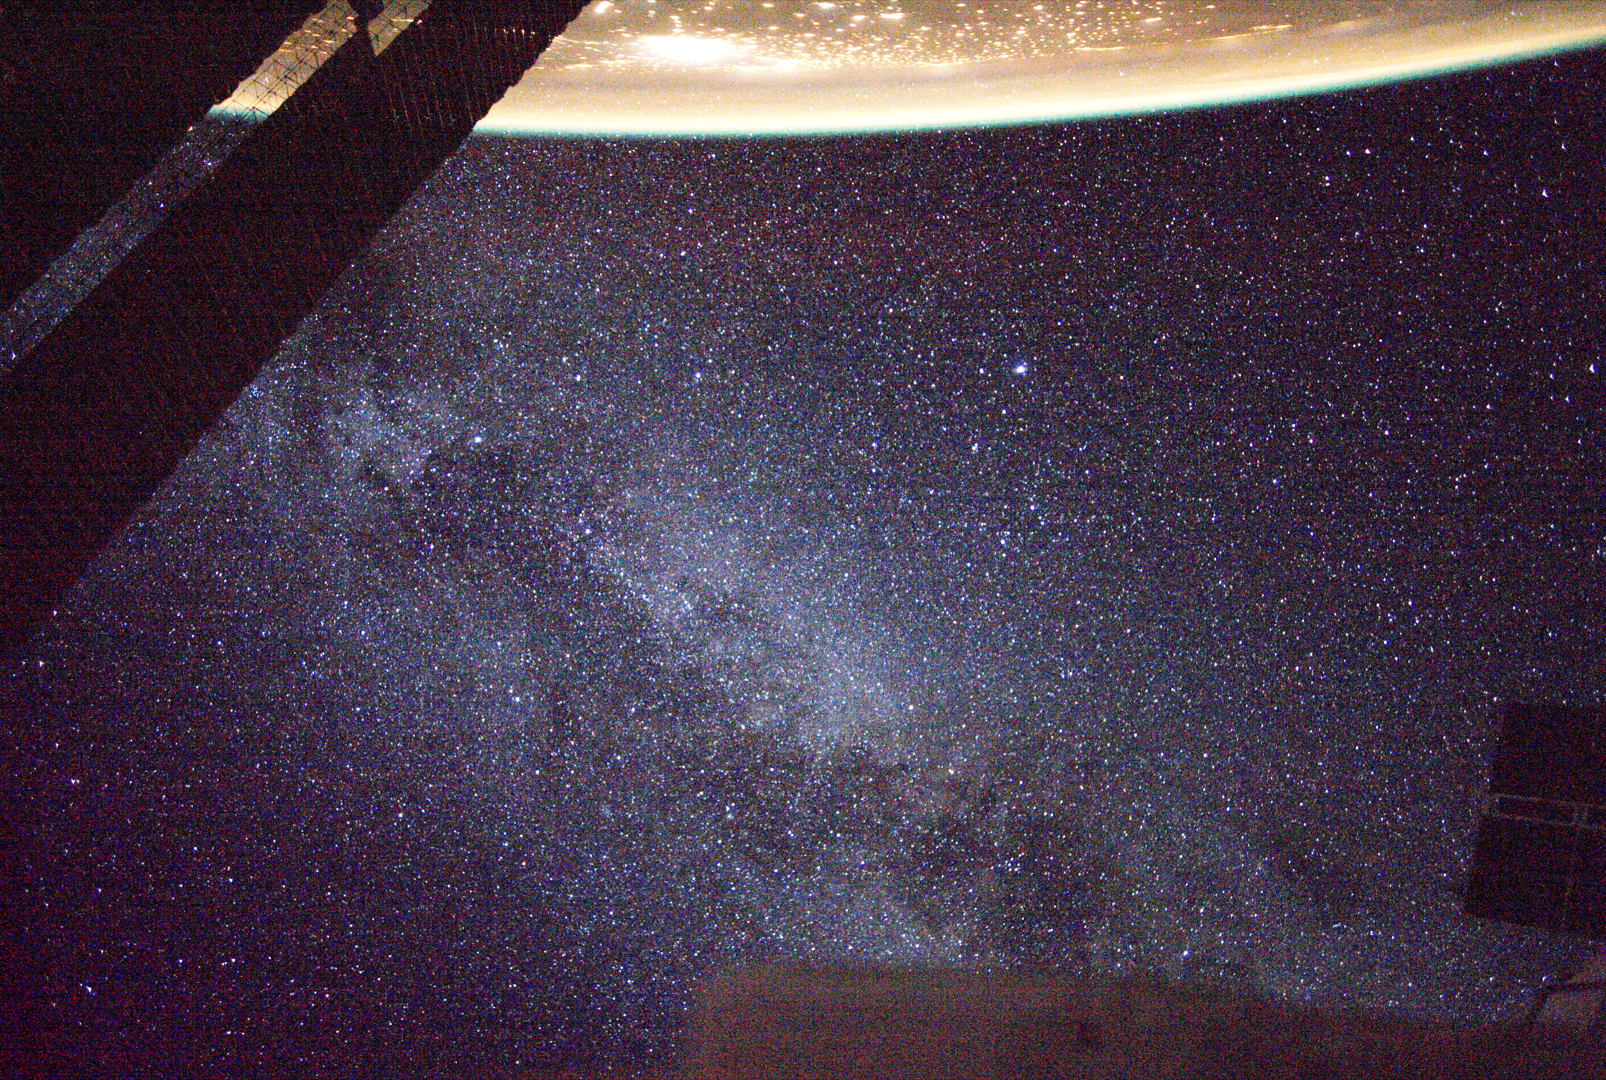
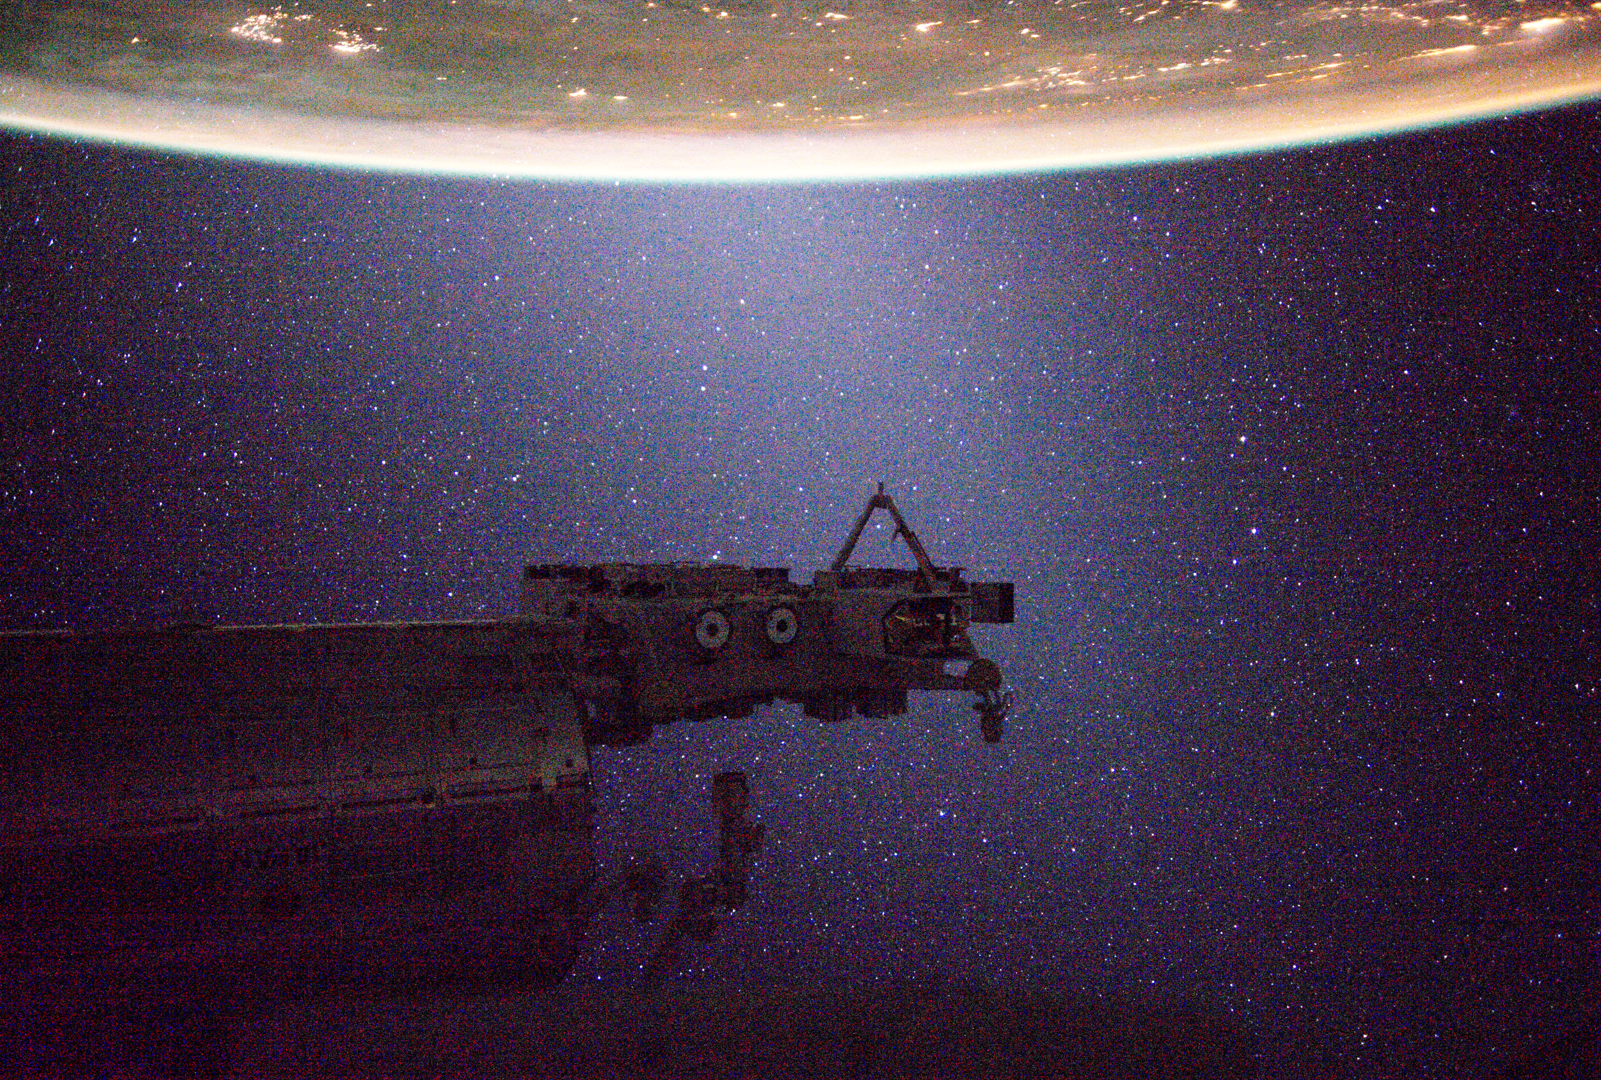


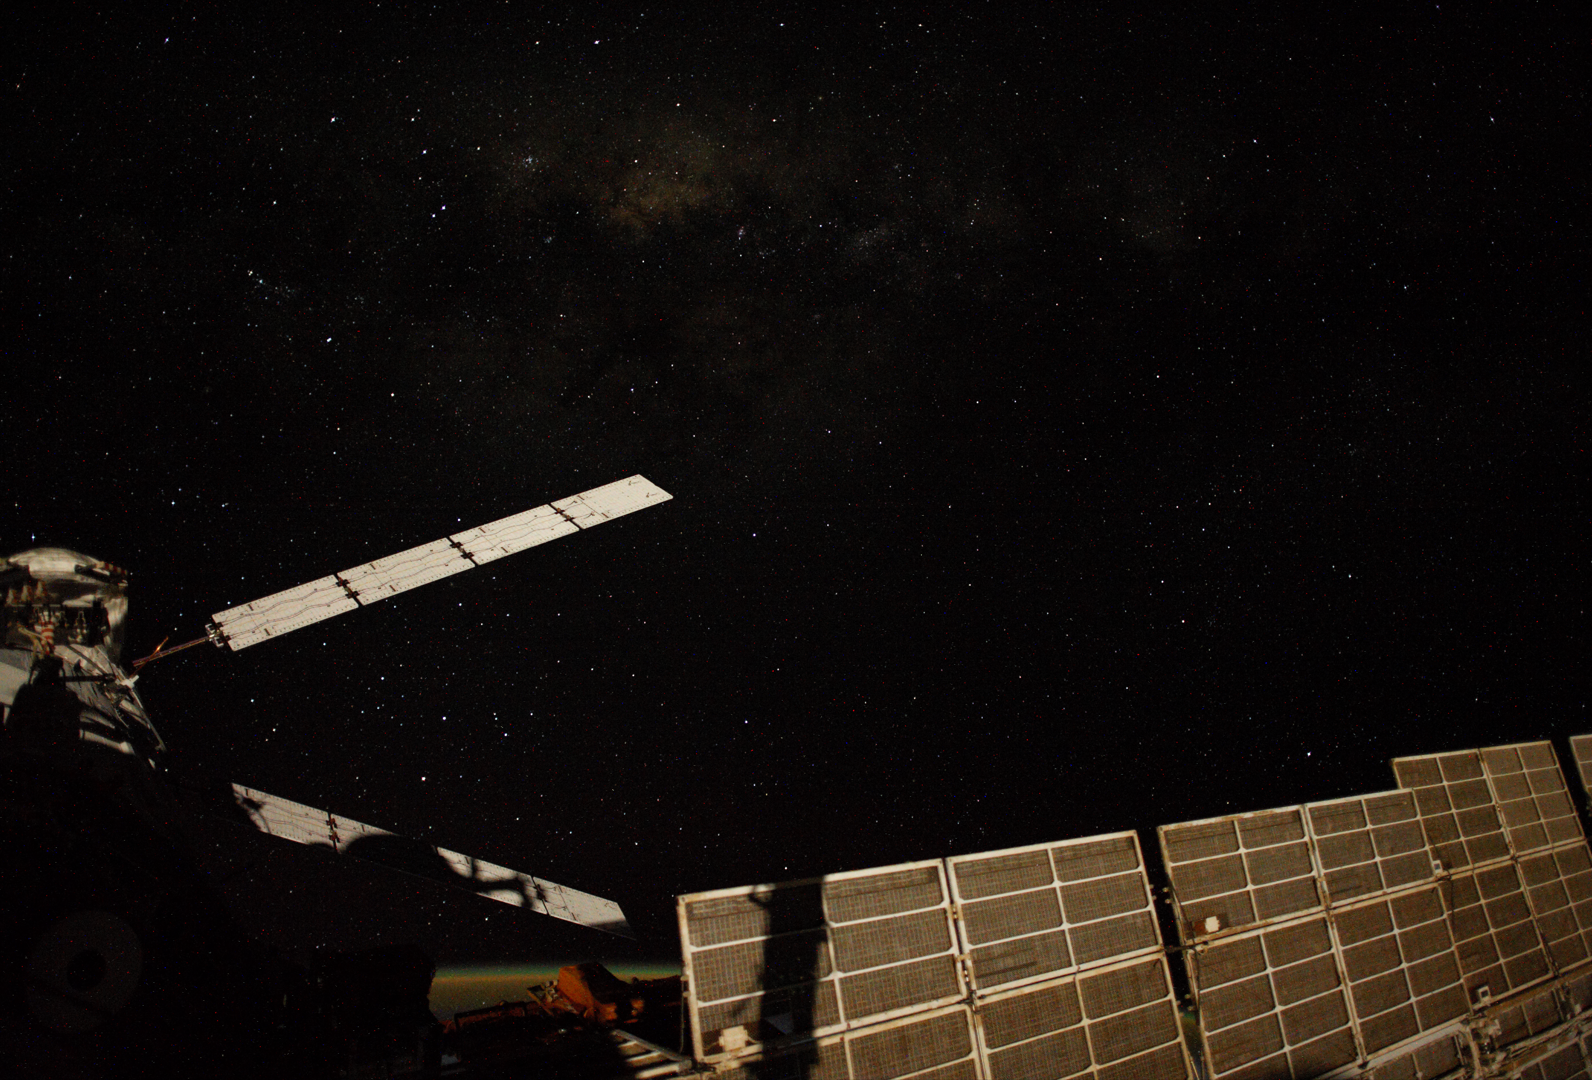

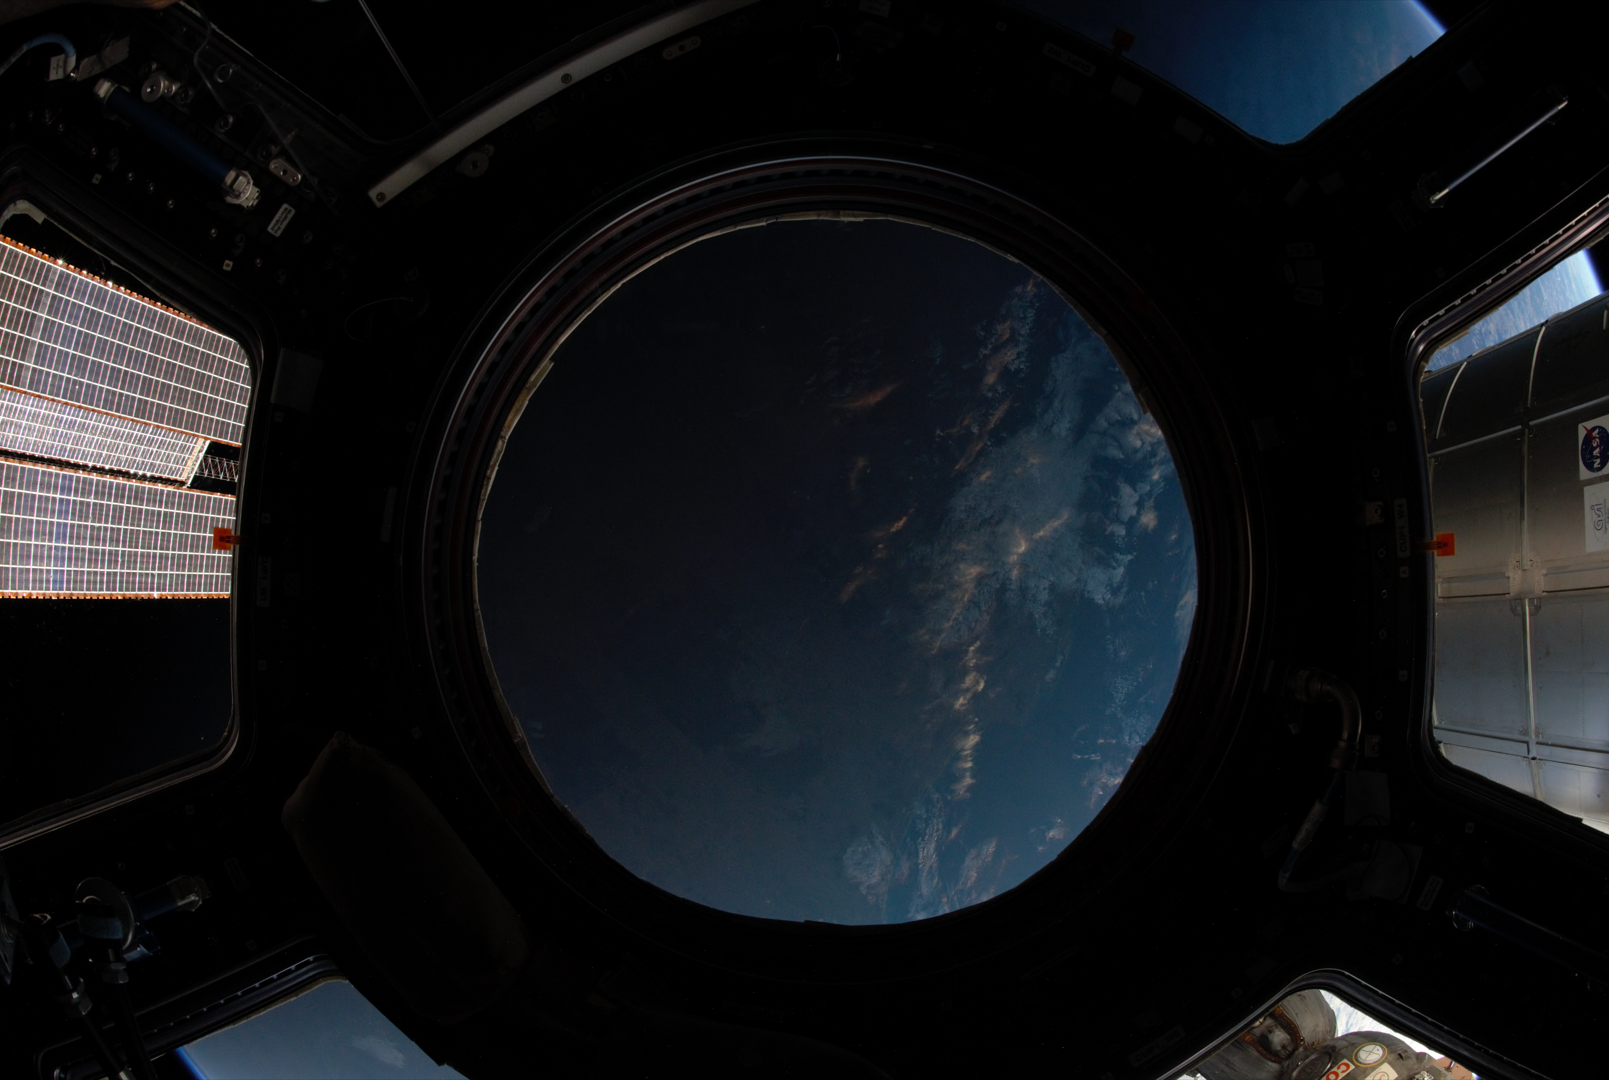
The variety of images were to analyze how the noise appears against different backgrounds – if you look at some of the images with objects in the foreground, you can see that some of the bright/high chroma pixels appear between the object and the camera. That means that the noise isn’t due to dark background artifacts, but from damage to the lens.
You can see lots of noise pixels in front of this object.
I very quickly realized that it was more difficult to differentiate noise pixels from the background when the background was brighter. We needed to divide the image up into sub-images and find the average R, B, and G value and their standard deviations for each. Using these, we could look at the ‘overlapping’ RGB values for one pixel and figure out if one of the three stuck out from the background.
The notes summarizing how my code works are below!
